When we go out, whether indoors or outdoors, we often see all sorts of Tactile Braille Signs. They come in different materials, colors, and appearances. So, how are these signs made? And what are some of the common manufacturing methods?
In short, the common manufacturing methods for Tactile Braille Signs currently include Photopolymer, Thermoforming, Raster/Appliqué, Engraving/Etching, and Sandcarving; in addition, UV Printing, 3D Printing, Injection Molding, Casting, and Stamping are also often used for specific projects or as extended processes.
To create good Tactile Braille Signs, the first step is to choose the materials. So, which material is the best?
Which Material is Best for Tactile Braille Signs?
When choosing Tactile Braille Signs, there is no absolute answer to “which material is the best,” but rather which material is the most suitable.
Currently common materials include photopolymer, acrylic, stainless steel, aluminum, and brass, each with its own characteristics and application advantages:
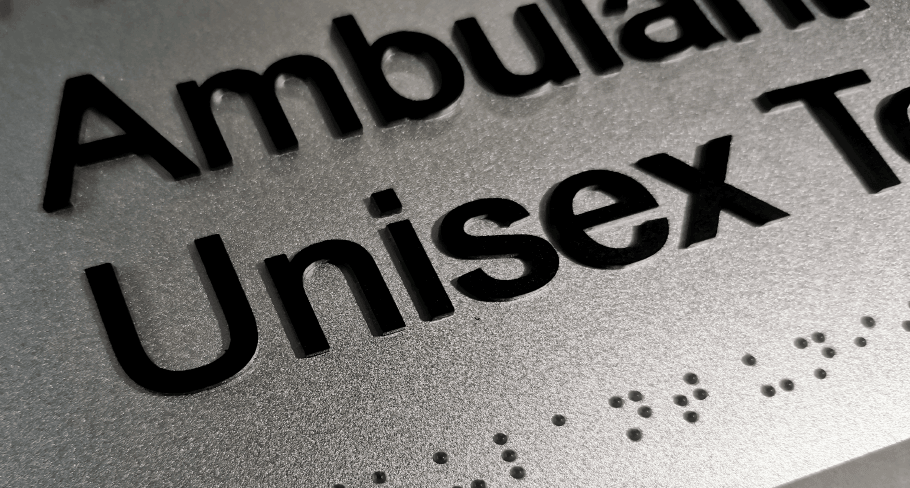
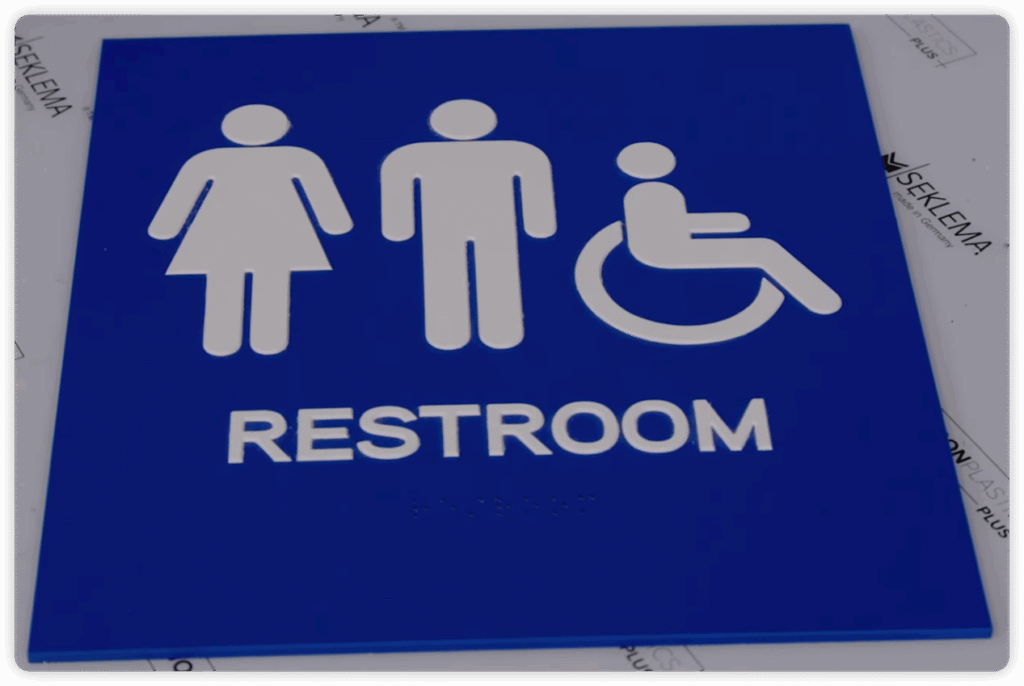
- Photopolymer: A UV photosensitive resin material that can be cured and molded. It is well-suited for making high-precision, smooth-surface tactile signs. It is mainly used in indoor environments and is commonly found in standard wayfinding systems in hospitals, office buildings, schools, and hotels.
- Acrylic: It features high gloss, light weight, and easy processing. It has a modern appearance and moderate cost, and is mainly suitable for indoor environments, such as signage systems in office buildings, shopping malls, and hotels.
- Stainless Steel: It is durable, has good corrosion resistance, and offers a wide range of surface treatment options (such as brushing and spraying). It is widely used in transportation hubs, hospitals, stadiums, and public places with high traffic.
- Aluminum: Lightweight, naturally rust-resistant, cost-effective, and with good weather resistance, it is very suitable for outdoor environments or projects that require large-scale deployment.
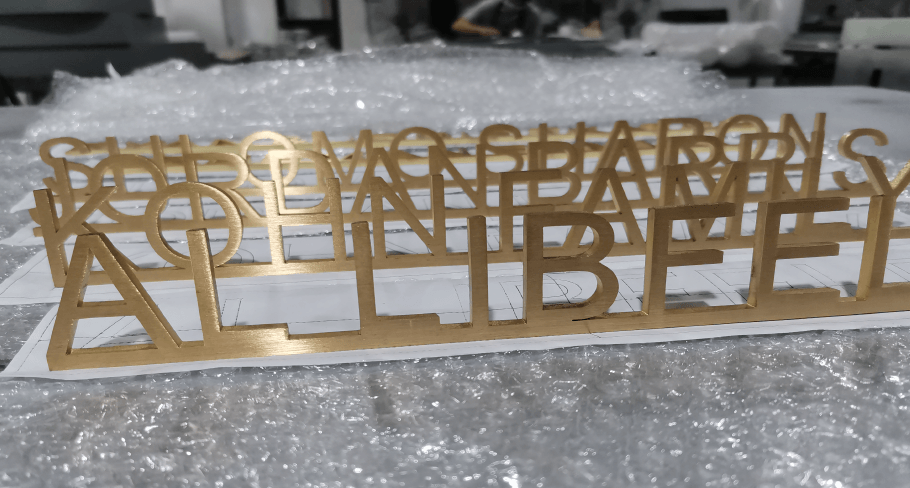
- Brass: It has a high-end feel and a striking visual effect, but it is also expensive. It is usually used in high-end or brand-image-focused places, such as luxury hotels and boutique commercial spaces.
Therefore, in actual projects, the most suitable materials should be selected based on factors such as the usage environment (indoor/outdoor), budget, durability requirements, and design style, rather than simply pursuing the “best” or “cheapest”.
| Material | Key Features | Typical Use Cases | Best Fit |
|---|---|---|---|
| Photopolymer | Smooth, integrally formed tactile surface with clear, uniform raised text and Braille, easy to clean and visually consistent | Standard indoor ADA signage such as room numbers, restroom signs, and wayfinding in hospitals, offices, schools, and hotels | Best suited for indoor projects that prioritize clean appearance, smooth touch, and consistent tactile quality |
| Acrylic | High gloss, lightweight, easy to fabricate | Indoor environments such as offices, hotels, retail spaces, and healthcare facilities | Best suited for indoor signage where appearance and cost-effectiveness matter |
| Stainless Steel | Durable, corrosion-resistant, available in multiple finishes/colors, more affordable than premium metals | Transit systems, prisons, sports facilities, hospitals, and other high-traffic public areas | Best suited for demanding environments that require long-term durability |
| Aluminum | Lightweight, affordable, weather-resistant | Outdoor applications, wayfinding systems, and large-scale projects | Best suited for projects that need a balance of durability, low weight, and cost control |
| Brass | Premium look and feel, highly decorative, higher cost | Luxury hotels, upscale commercial spaces, and other high-end settings | Best suited for premium environments where aesthetics and brand image are priorities |
What Are the Manufacturing Methods for Tactile Braille Signs?
With materials selected, the manufacturing process begins. Since each material has its own unique properties, different techniques are required to achieve the best results. Let’s explore these methods in detail.
Photopolymer
Photopolymer tactile Braille signs are typically created through a process of “exposure molding + washing + secondary curing.” Simply put, the design is first made into a film negative, then ultraviolet light is used to expose and harden the desired portions of the photopolymer material, and finally the unexposed portions are washed away, resulting in raised text and Braille.
Material used: film negative, photopolymer sheet
The photopolymer process involves the following steps:
- First, a film negative of your sign image (which contains the raised letters, any symbols or logo and Grade II Braille letters) is laid out onto a photosensitive sheet of polymer;
- Immediately after, the film negative and photopolymer sheet are placed in a photopolymer processor that exposes them to ultraviolet light which causes the letters from the digital image to be formed;
- Next, the sign is water etched, dried and exposed to UV again for the final step and hardening of the polymer
- Finally, trim, color, or fill in the colors.
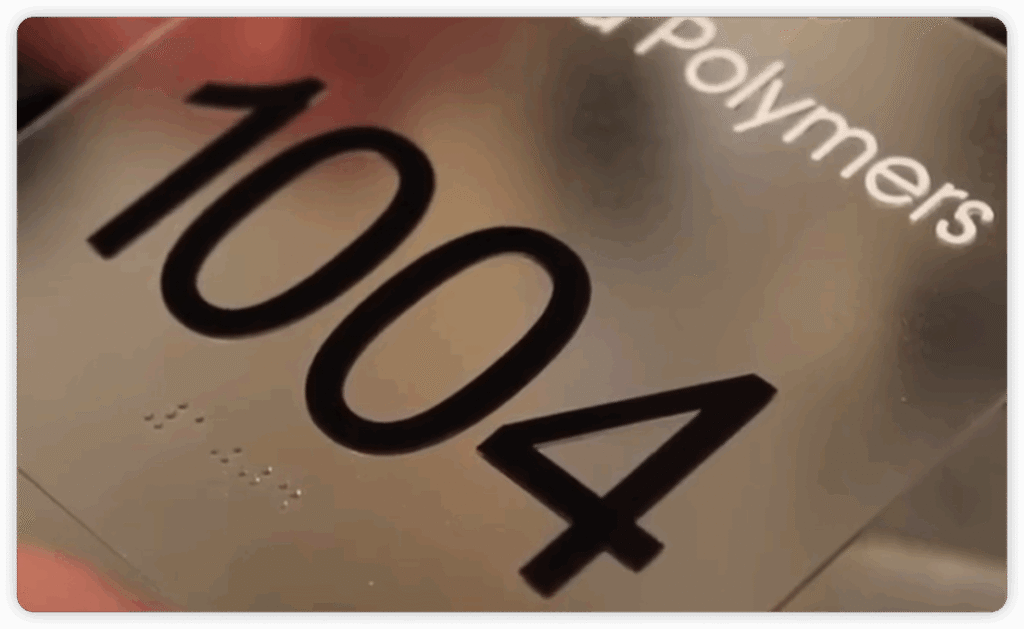
The advantages of Photopolymer signage are that the finished product has a strong overall integrity, a smooth surface, and clear details, and it is suitable for relatively standardized indoor wayfinding projects.
Thermoforming
Thermoforming tactile Braille signs are typically made by thermoforming: first, a mold is made, then a sheet of thermoplastic material is heated and softened, and then pressed onto the mold under pressure or vacuum. After cooling, raised letters, symbols, and Braille dots are formed.
Material used: acrylic or other thermoplastic sheets
The usual steps are as follows:
- First, complete the layout design and mold making.
- The thermoplastic sheet is heated to a plastic state.
- The material is bonded to the mold surface using vacuum or pressure.
- Cooling and setting create a raised tactile effect.
- Then, trim, color, or assemble to complete the finished product.
Thermoforming’s advantages include durable finished products, high customizability, three-dimensional appearance, and suitability for both indoor and some outdoor projects.
Raster/Appliqué
Raster/Appliqué tactile Braille signs are typically made by first creating Braille beads or small dots individually, and then embedding or pasting them onto a panel to form tactile Braille signs. Essentially, it’s a process of “making the base plate first, then installing the Braille dots,” often used for mass-produced, standardized Braille signs.
Material used: acrylic, aluminum, or other suitable materials for processing.
The production steps are as follows:
- First, create the base plate for the markings.
- Drill holes or pre-drill mounting positions on the base plate according to the Braille locations.
- Insert the Braille beads or dots one by one into the holes.
- Secure the markings using methods such as heat sealing, pressing, or gluing (generally done simultaneously with inserting the Braille beads in the previous step).
- Finally, complete the graphics, colors, and surface treatment.
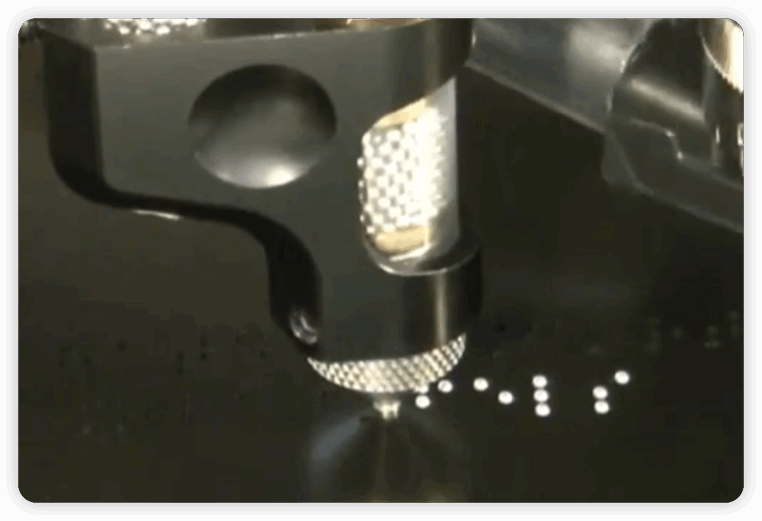
The advantages of Raster/Appliqué are high production efficiency, suitability for batch projects, relatively stable Braille dot positions, and generally controllable costs; however, the disadvantages are also obvious, such as the high requirements for positioning accuracy in the process, the possibility of improper installation by unskilled personnel, and the possibility of loosening or wear of Braille dots if maintenance is not done properly in the later stages.
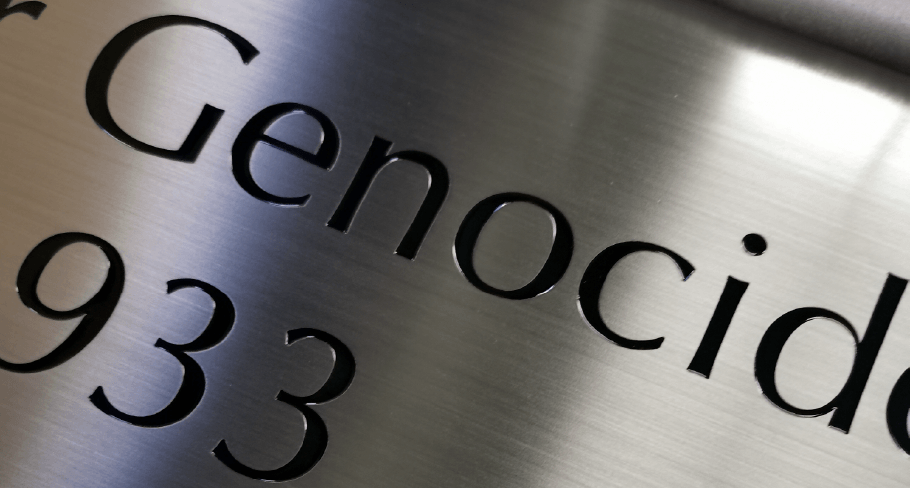
Engraving/Etching
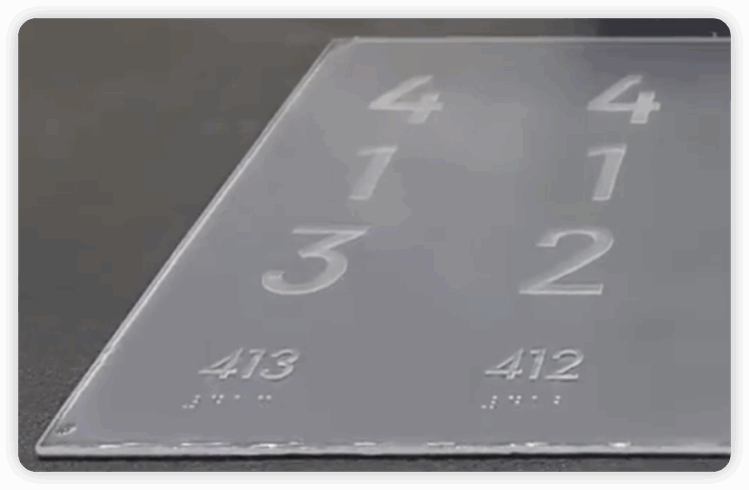
The process of creating tactile Braille signs can be simply understood as follows: first, carving or etching on the base material to “create” the text, patterns, or Braille positions that need to be highlighted, and then making the tactile and visual effects clearer through coloring, painting, or other post-processing.
Material used: acrylic, aluminum, stainless steel, and other materials suitable for engraving or etching.
The production steps are as follows:
- First, determine the signage content, font, Braille placement, and overall layout.
- Position the designed text and graphics onto the material surface, ensuring accurate size and placement.
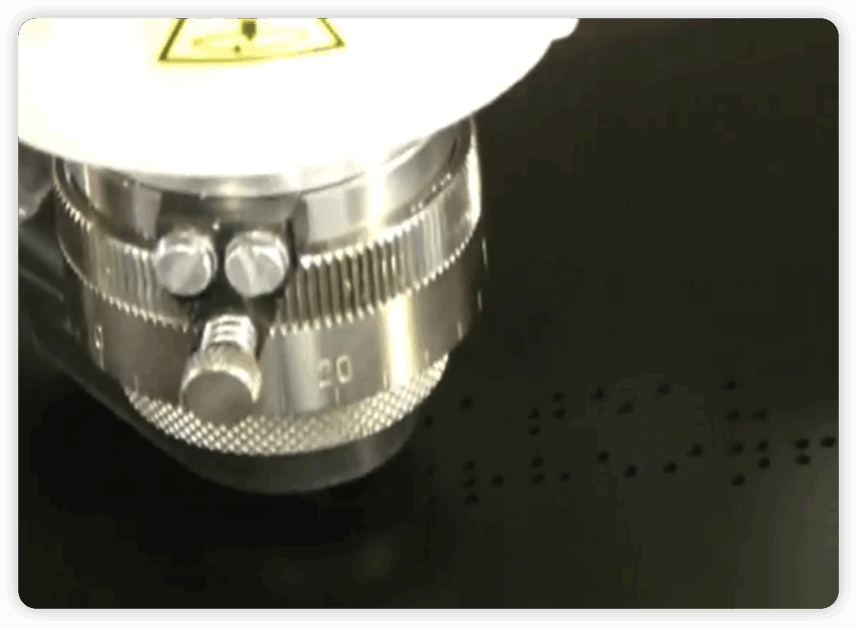
- Create grooves, lines, or tactile areas on the surface using mechanical engraving, laser engraving, or chemical etching.
- Color, spray paint, or fill in the engraved areas as needed to make the text clearer and easier to read.
- Finally, check the edges, Braille height, and overall effect; after trimming, the product is ready.
The advantages of Engraving/Etching are clear lines and good detail, making it suitable for materials such as acrylic and metal; the disadvantage is that it requires high precision, especially the Braille position and dot height must be very accurate.
Sandcarving
Sandcarving tactile Braille signs create a tactile effect on the surface of a material through “sandblasting engraving.” It is essentially a multi-layer coating + sandblasting etching process that can produce textured three-dimensional Braille and text.
Material used: Typically, multi-layer boards (such as two layers of hard laminate or resin board in different colors) are used, with different colors for the bottom and top layers so that a contrasting background can be revealed after engraving.
The production steps are as follows:
- Based on the signage design, output a reverse image using a computer to create a sandblasting mask. This protects the areas that need to be preserved while exposing the areas requiring engraving.
- Place the material into a sandblasting machine, where high-speed abrasive particles impact the exposed areas, abrading away the surface layer to create grooves, letters, or Braille dots.
- Remove the mask, clean away any remaining abrasive particles and dust, and refine the edges to ensure tactile and visual appeal, such as Braille dot height and text contrast.
- Fill in the gaps with paint, color, or retain the original sandblasted texture to create sufficient contrast between the characters and background, while maintaining a matte or neutral finish to avoid glare that could affect visually impaired users.

The advantages of sandcarving are strong three-dimensionality and texture, and good contrast, while the disadvantages are high precision requirements, relatively complex process, high cost, and generally moderate production efficiency.
UV Printing
UV Printing tactile Braille signs are essentially text and patterns printed directly onto the surface of a material using UV ink and instant UV curing, rather than through engraving, hot pressing, or sandblasting.
Material used: acrylic, aluminum, PVC, etc.
The production steps are as follows:
- First, complete the logo design on the computer, confirming that the size, color, font, and layer information meet printing requirements.
- Fix the board on the UV flatbed printer’s worktable, adjusting its position to ensure correct image alignment and edges.
- Move the print head above the board, spraying UV ink while simultaneously using the printer’s internal UV lamp to instantly cure and adhere the ink to the surface.
- Some projects involve multiple printings in the same area: first applying a base coat, then overlaying text, icons, or even stacking with a clear UV varnish to create a subtle “3D/embossed” effect.
- After printing, check the colors, alignment, and overall integrity of the print. Then, trim, assemble the backing panel, and sometimes apply a protective film or a layer of UV varnish.
Although UV printing is very convenient and quick, just like printing documents, regular UV printing is not very suitable for directly creating truly compliant “raised Braille”. It is more suitable for creating “flat graphics” or “slight embossing effects”. Therefore, in order to create Braille that meets the requirements, other processes are needed, such as using Raster/Appliqué or applying special dot materials to achieve “true Braille areas”, rather than relying entirely on UV ink to create them.
3D Printing
The core of 3D Printing tactile Braille signs is to use 3D modeling to layer materials to directly “grow” raised text and Braille, rather than carving away excess material.
Material used: Commonly used photosensitive resin, ABS, or special composite materials.
The production process is similar to UV printing, as follows:
- Design signage using CAD/3D software, precisely configuring Braille height, dot spacing, and tactile surface curvature to ensure full compliance with regulatory standards.
- Import the design drawings into a 3D printer for fabrication; the process involves first printing the base plate, followed by the raised text and Braille areas. As an additive manufacturing process, it requires no material removal via cutting tools and offers rapid production speeds.
- Remove support structures and smooth the edges; optional coatings or coloring may be applied to ensure a smooth, durable surface finish.
The advantages of 3D printing are its high degree of customization and ability to create raised text and Braille in one piece, making it suitable for small batches or complex designs. The disadvantages are that the choice of materials is limited, the surface texture and long-term durability are usually not as good as traditional metal or thermoforming processes, and the cost is relatively high.
Injection Molding
Injection molding tactile Braille signs are essentially a method of “mass-producing tactile signs using injection molding”: First, a 3D mold is created for the entire sign (including text, graphics, and Braille). Then, molten plastic (such as ABS, polycarbonate, or nylon) is injected at high speed into the mold using an injection molding machine. After cooling, the mold is opened, resulting in a one-piece sign with raised text and Braille.
The advantage of injection molding is that once the mold is made, one-piece tactile signs can be produced quickly, in large quantities, and with good consistency. Each sign has raised text and Braille, and the unit cost is relatively low.
However, due to the high initial mold cost and the difficulty of subsequent design changes, injection molding is not suitable for the small-batch, highly customized industry like tactile Braille signage.

Casting
Casting tactile Braille signs can be understood as follows: First, a master mold with raised text and Braille is created. Then, liquid material (such as resin, metal, or adhesive) is poured into the mold. After it cools or solidifies, it is demolded, resulting in a sign with a three-dimensional tactile effect.
The advantage of casting is that it is suitable for high-quality, small-batch projects; the disadvantages are high initial investment in molds, long production cycles, and it is not well-suited for large metal outdoor signs.
Stamping
Stamping tactile Braille signs are generally created by stamping or embossing metal to “press out” or “punch out” raised text and Braille graphics on the surface of a metal plate.
The general manufacturing steps for stamping are:
First, make a mold with an embossed pattern, then use a press to press the metal plate into the mold to form a one-time three-dimensional signage, and finally apply color or a protective layer.
The advantages of stamping are that the finished product has a clear tactile feel and good durability; the disadvantages are that molds need to be made in the early stages of the process, which is costly and makes design changes troublesome. Like injection molding, it is not suitable for small-batch or highly customized projects.
Which Manufacturing Process is Best for Tactile Braille Signs?
It’s impossible to say which process is the best, only which one is most suitable for you. Below is a comparison table of these processes (sorted from most popular to least popular):
| Manufacturing Method | Core Process | Key Materials | Primary Advantages | Main Disadvantages |
|---|---|---|---|---|
| Photopolymer | UV exposure through film negative + washing + post-curing. | Photopolymer sheets, film negatives. | Excellent integrity, smooth surface, clear details; ideal for standard indoor projects. | Requires specialized processing equipment and chemicals. |
| Thermoforming | Heating thermoplastic sheets and vacuum-pressing them over a mold. | Acrylic or thermoplastic sheets. | Very durable, 3D appearance; suitable for both indoor and outdoor use. | Requires physical molds for every design. |
| Raster / Appliqué | Drilling holes in a base plate and manually/mechanically inserting Braille beads. | Acrylic, Aluminum, etc. | High production efficiency for bulk orders; stable Braille dot positioning. | Requires high precision; dots may loosen or fall off if poorly maintained. |
| Engraving / Etching | Mechanical, laser, or chemical removal of material to create relief. | Acrylic, Aluminum, Stainless Steel. | Sharp lines and fine details; works well with premium metals. | High precision required for Braille height; labor-intensive finishing (painting). |
| Sandcarving | Using high-speed sand particles to erode unprotected areas via a mask. | Multi-layer laminates or resin boards. | High-end texture and excellent visual contrast. | Complex process; high cost and lower production efficiency. |
| UV Printing | Layering UV ink and instantly curing it with UV light to create “build-up.” | Acrylic, Aluminum, PVC, Glass. | Fast and convenient; allows for colorful graphics and digital precision. | Standard UV printing may not meet official Braille height specs without secondary processes. |
| 3D Printing | Additive manufacturing by layering material (SLA/FDM) based on a 3D model. | Photosensitive resin, ABS, composites. | Highly customizable; one-piece construction; great for complex or small-batch designs. | Limited material choices; lower long-term durability compared to traditional methods. |
| Injection Molding | Injecting molten plastic into a high-pressure mold. | ABS, Polycarbonate, Nylon. | Fastest for mass production; lowest unit cost for high volumes; consistent quality. | Extremely high initial mold costs; difficult to change designs once the mold is made. |
| Casting | Pouring liquid resin or metal into a mold to solidify. | Resin, Metals. | High quality and premium feel; ideal for bespoke, artistic projects. | High mold investment and long production cycles. |
| Stamping | Using a press to “punch” or emboss shapes into a metal sheet. | Metal plates. | Clear tactile feel and high durability. | High upfront mold costs; not suitable for small batches or custom designs. |
FAQ
Can UV Printing alone create compliant Braille signs?
While UV Printing is highly efficient for adding colorful graphics and text, standard UV ink layering often lacks the height or durability required for official tactile Braille specifications. To ensure compliance, UV printing is typically combined with other methods—such as the Raster/Appliqué method (inserting beads) —to achieve the necessary tactile relief.
Why aren’t Injection Molding or Stamping commonly used for custom ADA signs?
While Injection Molding and Stamping offer the lowest unit cost for mass production, they require expensive initial molds. Since most tactile Braille signage projects involve unique room numbers or custom text for every sign, the high cost and lack of flexibility for design changes make these methods impractical for small-batch, highly customized signage projects.
Does the choice of manufacturing process affect Braille compliance?
Yes, significantly. Different standards (like ADA, AODA, or Australian standards) have strict requirements for Braille dot height, spacing, and profile (rounded vs. flat). Methods like Photopolymer and Raster/Appliqué are naturally suited for these specs because they create precise, rounded dots. Conversely, methods like UV Printing or Engraving require very careful calibration to ensure the tactile elements aren’t too sharp or too shallow to meet legal accessibility codes.
Take Away
Rather than focusing on which material is better or which manufacturing process is superior, understanding the technical standards and installation methods of tactile Braille signs is equally important. For example:
Should I use Level 1 or Level 2 Braille?
What are the installation standards for tactile Braille signs in Australia?
How do I install tactile Braille signs in Europe?
What are the Braille sizes in Canada?
What are the visual contrast requirements for Braille signs in the UK?
What’s the Difference between Federal Braille Signs and California Braille Signs?
I have articles explaining these points (as linked in the questions above) to help you understand how to make a compliant Braille sign before you start making one, and also to help you know how to install it compliantly after you receive it.
As a veteran expert in the industry, FT Signage understands that choosing the right manufacturing method is about more than just aesthetics—it’s about durability and strict adherence to accessibility standards. By maintaining a deep knowledge of material properties and fabrication constraints, we help our clients navigate the complexities of tactile signage to ensure every project is both functional and compliant.
Should you have any customization needs or run into any problems regarding sign standards, please feel free to contact us.
References: