The production of metal plaques usually involves three main steps: cutting, surface finishing, and lettering or applying graphics, each of these steps involves its own set of techniques, which I’ll walk through one by one below.
Cutting
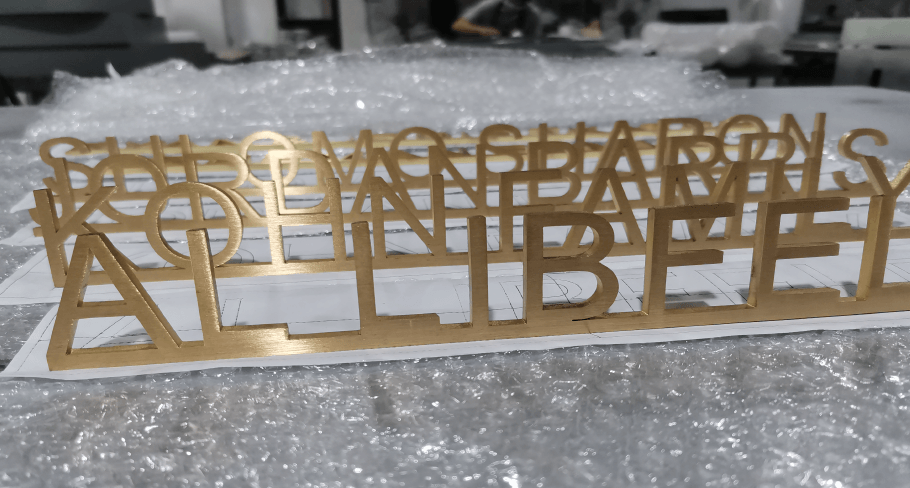
Whether you’re making metal letters, acrylic letters, engraving text on a single plate or producing separate loose characters, they all start life as a solid sheet of material that has to be cut. Different projects therefore call for different cutting methods.
Common options include waterjet cutting, wire EDM, plasma cutting, laser cutting, milling, and stamping presses. For more detail, you can check this article:
How Many Ways Are There To Cut Letters?
Although there are many cutting methods available, laser cutting is still the go‑to choice for most standard metal and acrylic plaques, offering the best balance between precision and cost.
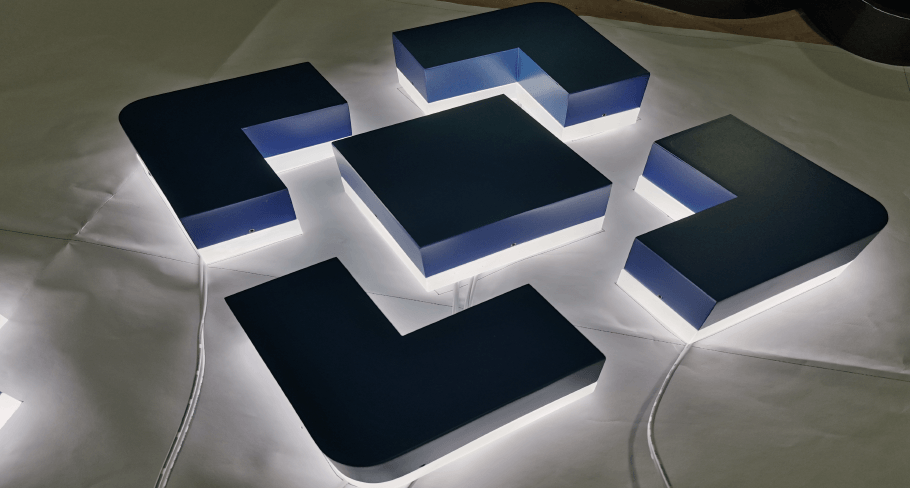
Surface Finishing
Once the letter shapes or backing plates have been cut, their surfaces are usually still quite rough, so they need additional surface finishing.
The main finishing methods include brushed finishes, spray painting, electroplating, sandblasting, grinding, and anodizing. For more details, please take a look at the article below:
6 common surface finishing for metal signage
Lettering and Graphic Application
For metal or acrylic letters that are cut out as individual characters, they’re basically done once the surface finishing is complete.
Plaques with a backing plate, however, still need the text or graphics added on top. Common ways to do this include engraving, etching, screen printing, UV printing, and vinyl lettering.
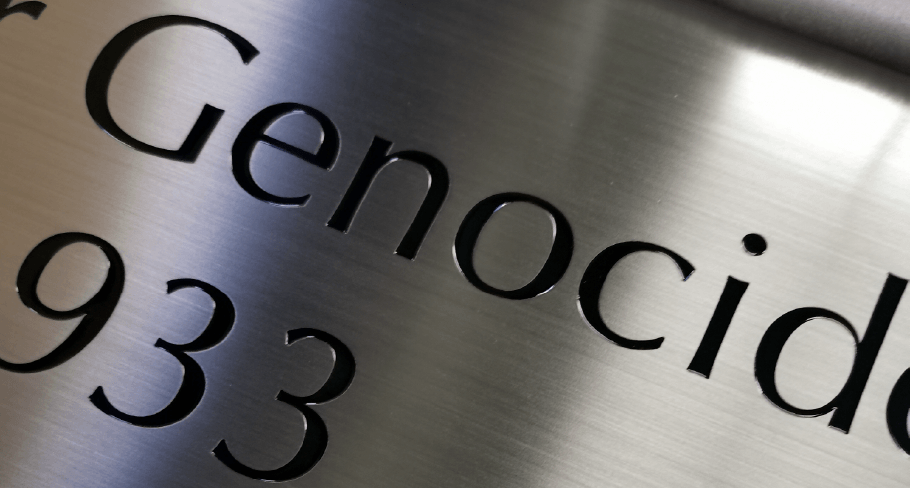
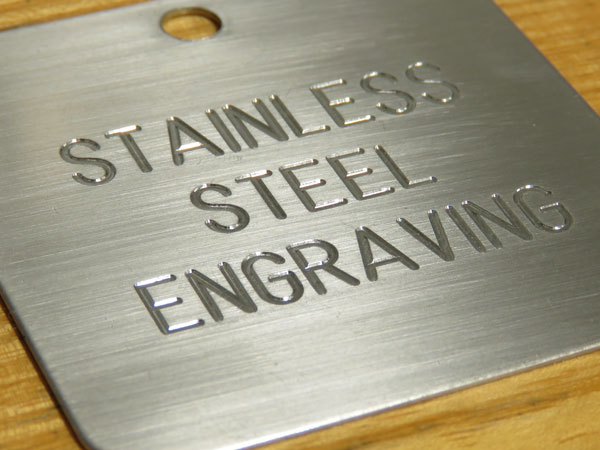
Engraving
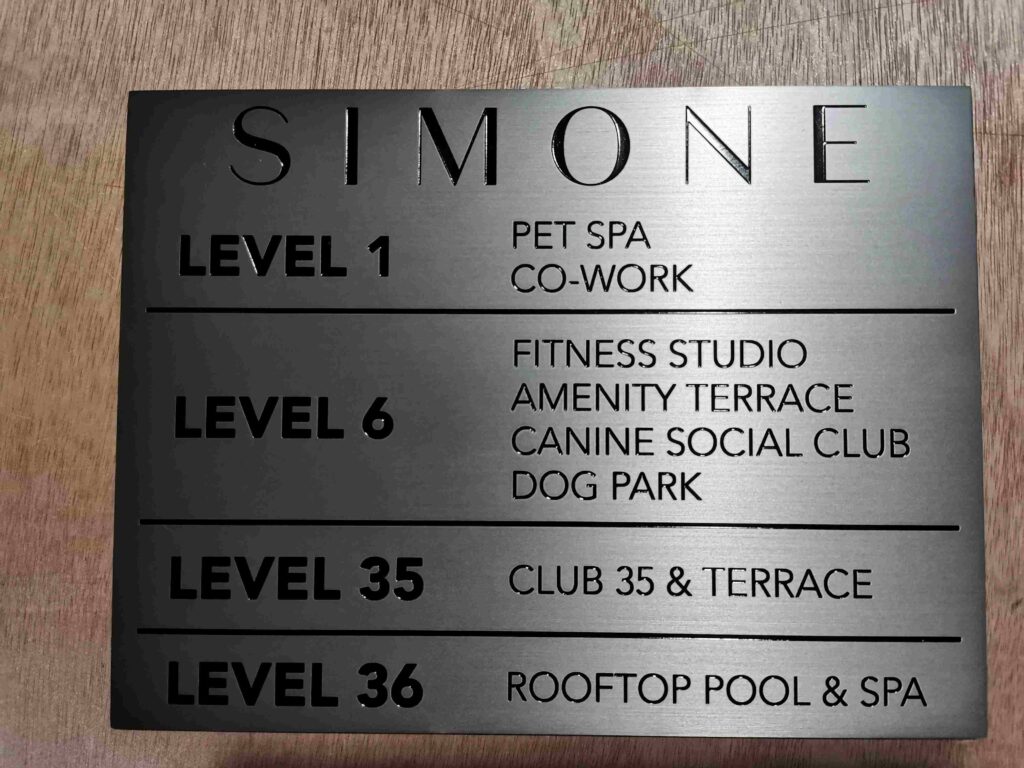
Engraving means cutting letters or text directly into the surface of a hard material such as metal or acrylic, typically using laser or mechanical engraving equipment. The characters are carved down into the substrate, creating recessed, permanent markings that resist wear and peeling, making this method ideal for nameplates, information plaques, and higher‑end signage.
Etching
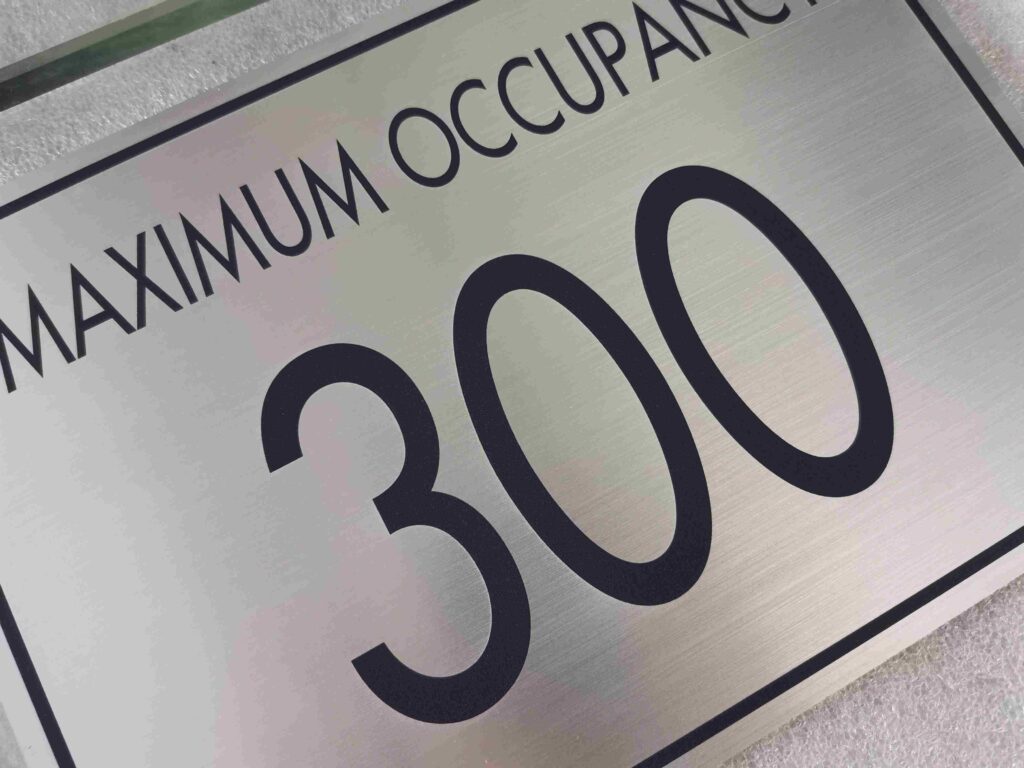
Etching is a chemical process that uses etchant solutions to “bite” into the metal surface and form letters or graphics. It typically involves four main stages:
1. Pretreatment and coating
The metal plate is first cleaned and degreased, then coated with a corrosion‑resistant photosensitive layer or resist paint. This coating protects the areas that should remain, while leaving the future etched areas easier to expose or remove.
2. Image transfer and exposure
The text or graphics are transferred onto the coated surface using a screen, film, or direct exposure. The resist is removed from the areas that need to be etched, while the rest stays in place to shield the metal.
3. Etching (the actual “biting” step)
The plate is immersed in an acidic or other etching solution. The chemical “eats away” the unprotected metal, creating recessed letters, graphics, or lines. Etching time and solution concentration control the depth of the relief.
4. Post‑treatment and coloring
After etching, the plate is rinsed to remove the solution, and the remaining resist is stripped off. The surface is then cleaned again and can be spray‑painted or filled with paint in the recessed areas to make the text and graphics clearer and more visually prominent.


Screen Printing
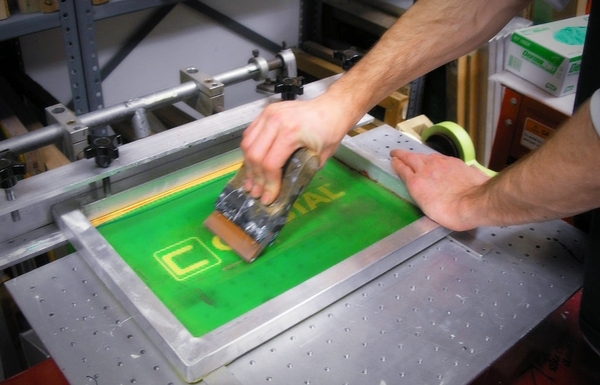
Screen printing (silkscreen printing) is a process that uses a mesh screen to transfer ink onto the surface of a metal or acrylic plaque. The text and graphics are first prepared as a screen plate, then a squeegee is used to push specialized inks through the open areas of the mesh so that ink only passes where the design is, creating bold, opaque graphics with strong adhesion on the plaque surface.
UV Printing
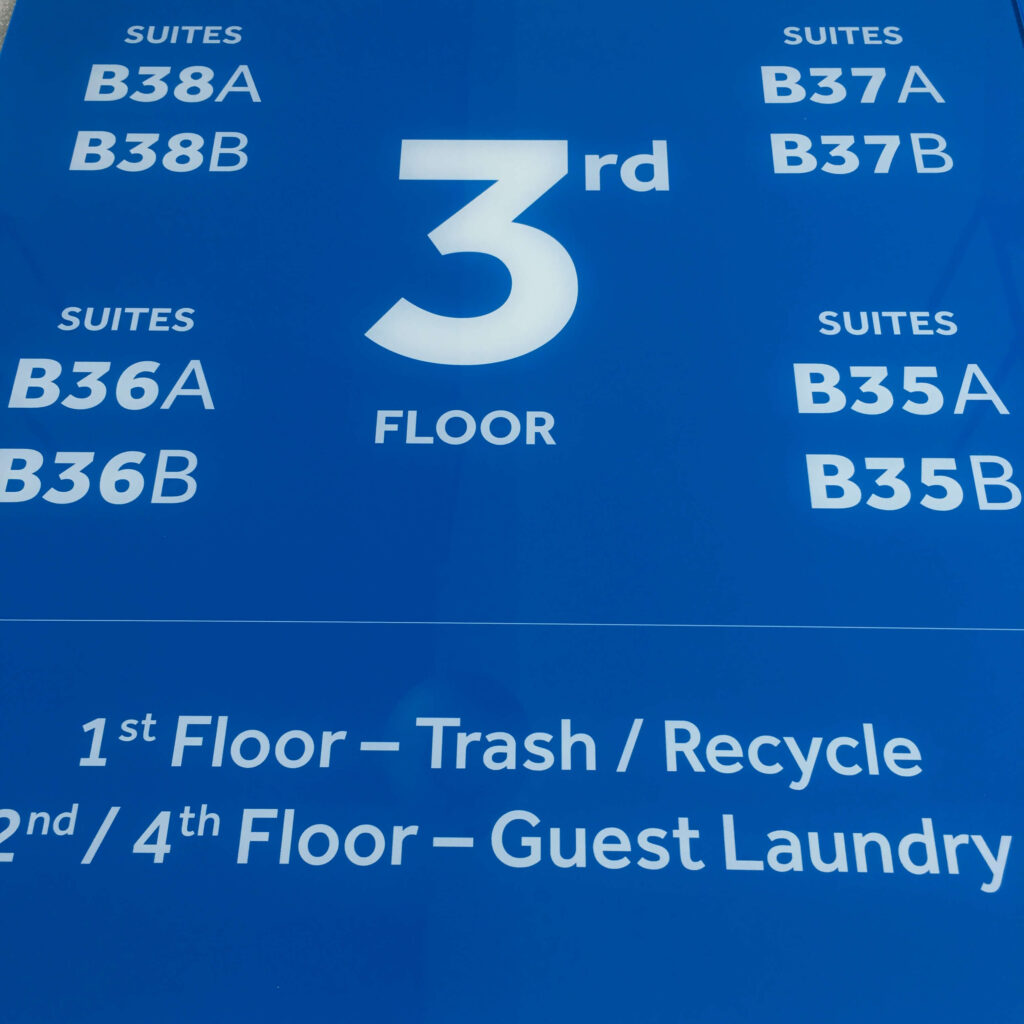
UV printing is a digital inkjet printing process that uses UV‑curable inks and ultraviolet light to instantly cure the ink on the surface of materials such as metal or acrylic, creating durable, full‑color graphics.
Vinyl Lettering
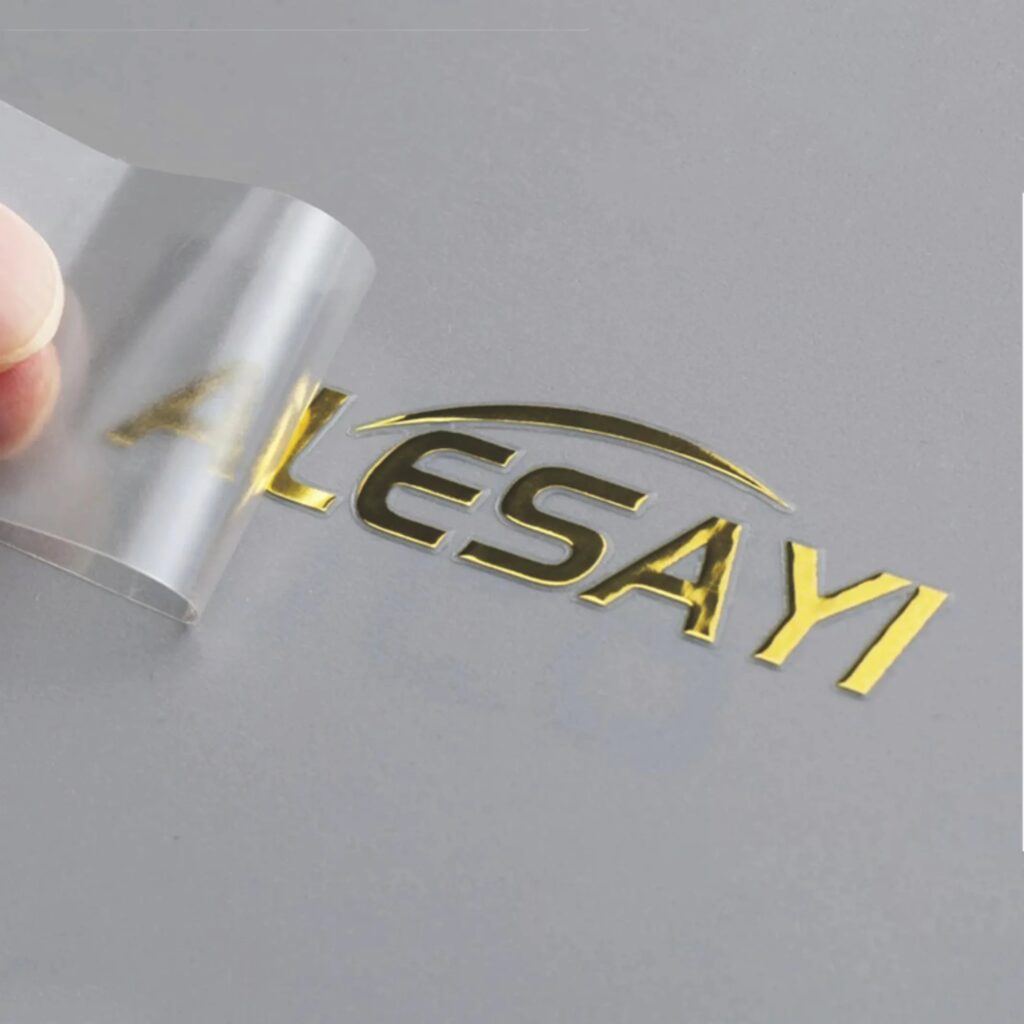
“Vinyl lettering” generally means turning text or graphics into self‑adhesive films and applying them onto the surface of a metal or acrylic plaque, instead of cutting or printing directly on the substrate. A typical workflow is to use a plotter or printer to cut PVC, acrylic, or other self‑adhesive materials into the required letters or shapes, then use a transfer tape to position them accurately on the plaque. Once the transfer tape is peeled away, only the letters and graphics remain firmly attached to the surface. This method is flexible to install and easy to change, making it well‑suited for small‑batch customization and signs whose content may need to be updated, such as door plates, room numbers, and certain advertising plaques.
FAQ
Which manufacturing process should I choose for my metal plaque?
The best process depends on the look, durability, and budget you’re aiming for. Laser cutting plus brushed or spray‑painted finishing works well for most standard plaques. Engraving and etching are ideal when you want long‑lasting, high‑end text, while screen printing, UV printing, and vinyl lettering are better for colorful graphics or information that may need to be updated in the future.
What is the difference between engraving, etching, screen printing, UV printing, and vinyl lettering?
Engraving and etching both create recessed text in the material, but engraving uses mechanical or laser tools, while etching relies on chemicals. Screen printing and UV printing add ink on top of the surface, with UV printing offering high‑resolution, full‑color images. Vinyl lettering uses self‑adhesive films applied to the surface, making it easy to change or replace text and graphics without remaking the entire plaque.
Take Away
When designing metal plaques, think in three layers: how you cut the shape, how you finish the surface, and how you apply the text or graphics. By choosing the right combination of cutting, finishing, and lettering methods, you can balance appearance, durability, and cost for each specific project.
If you have any custom requirements or questions, please feel free to contact us.
References: